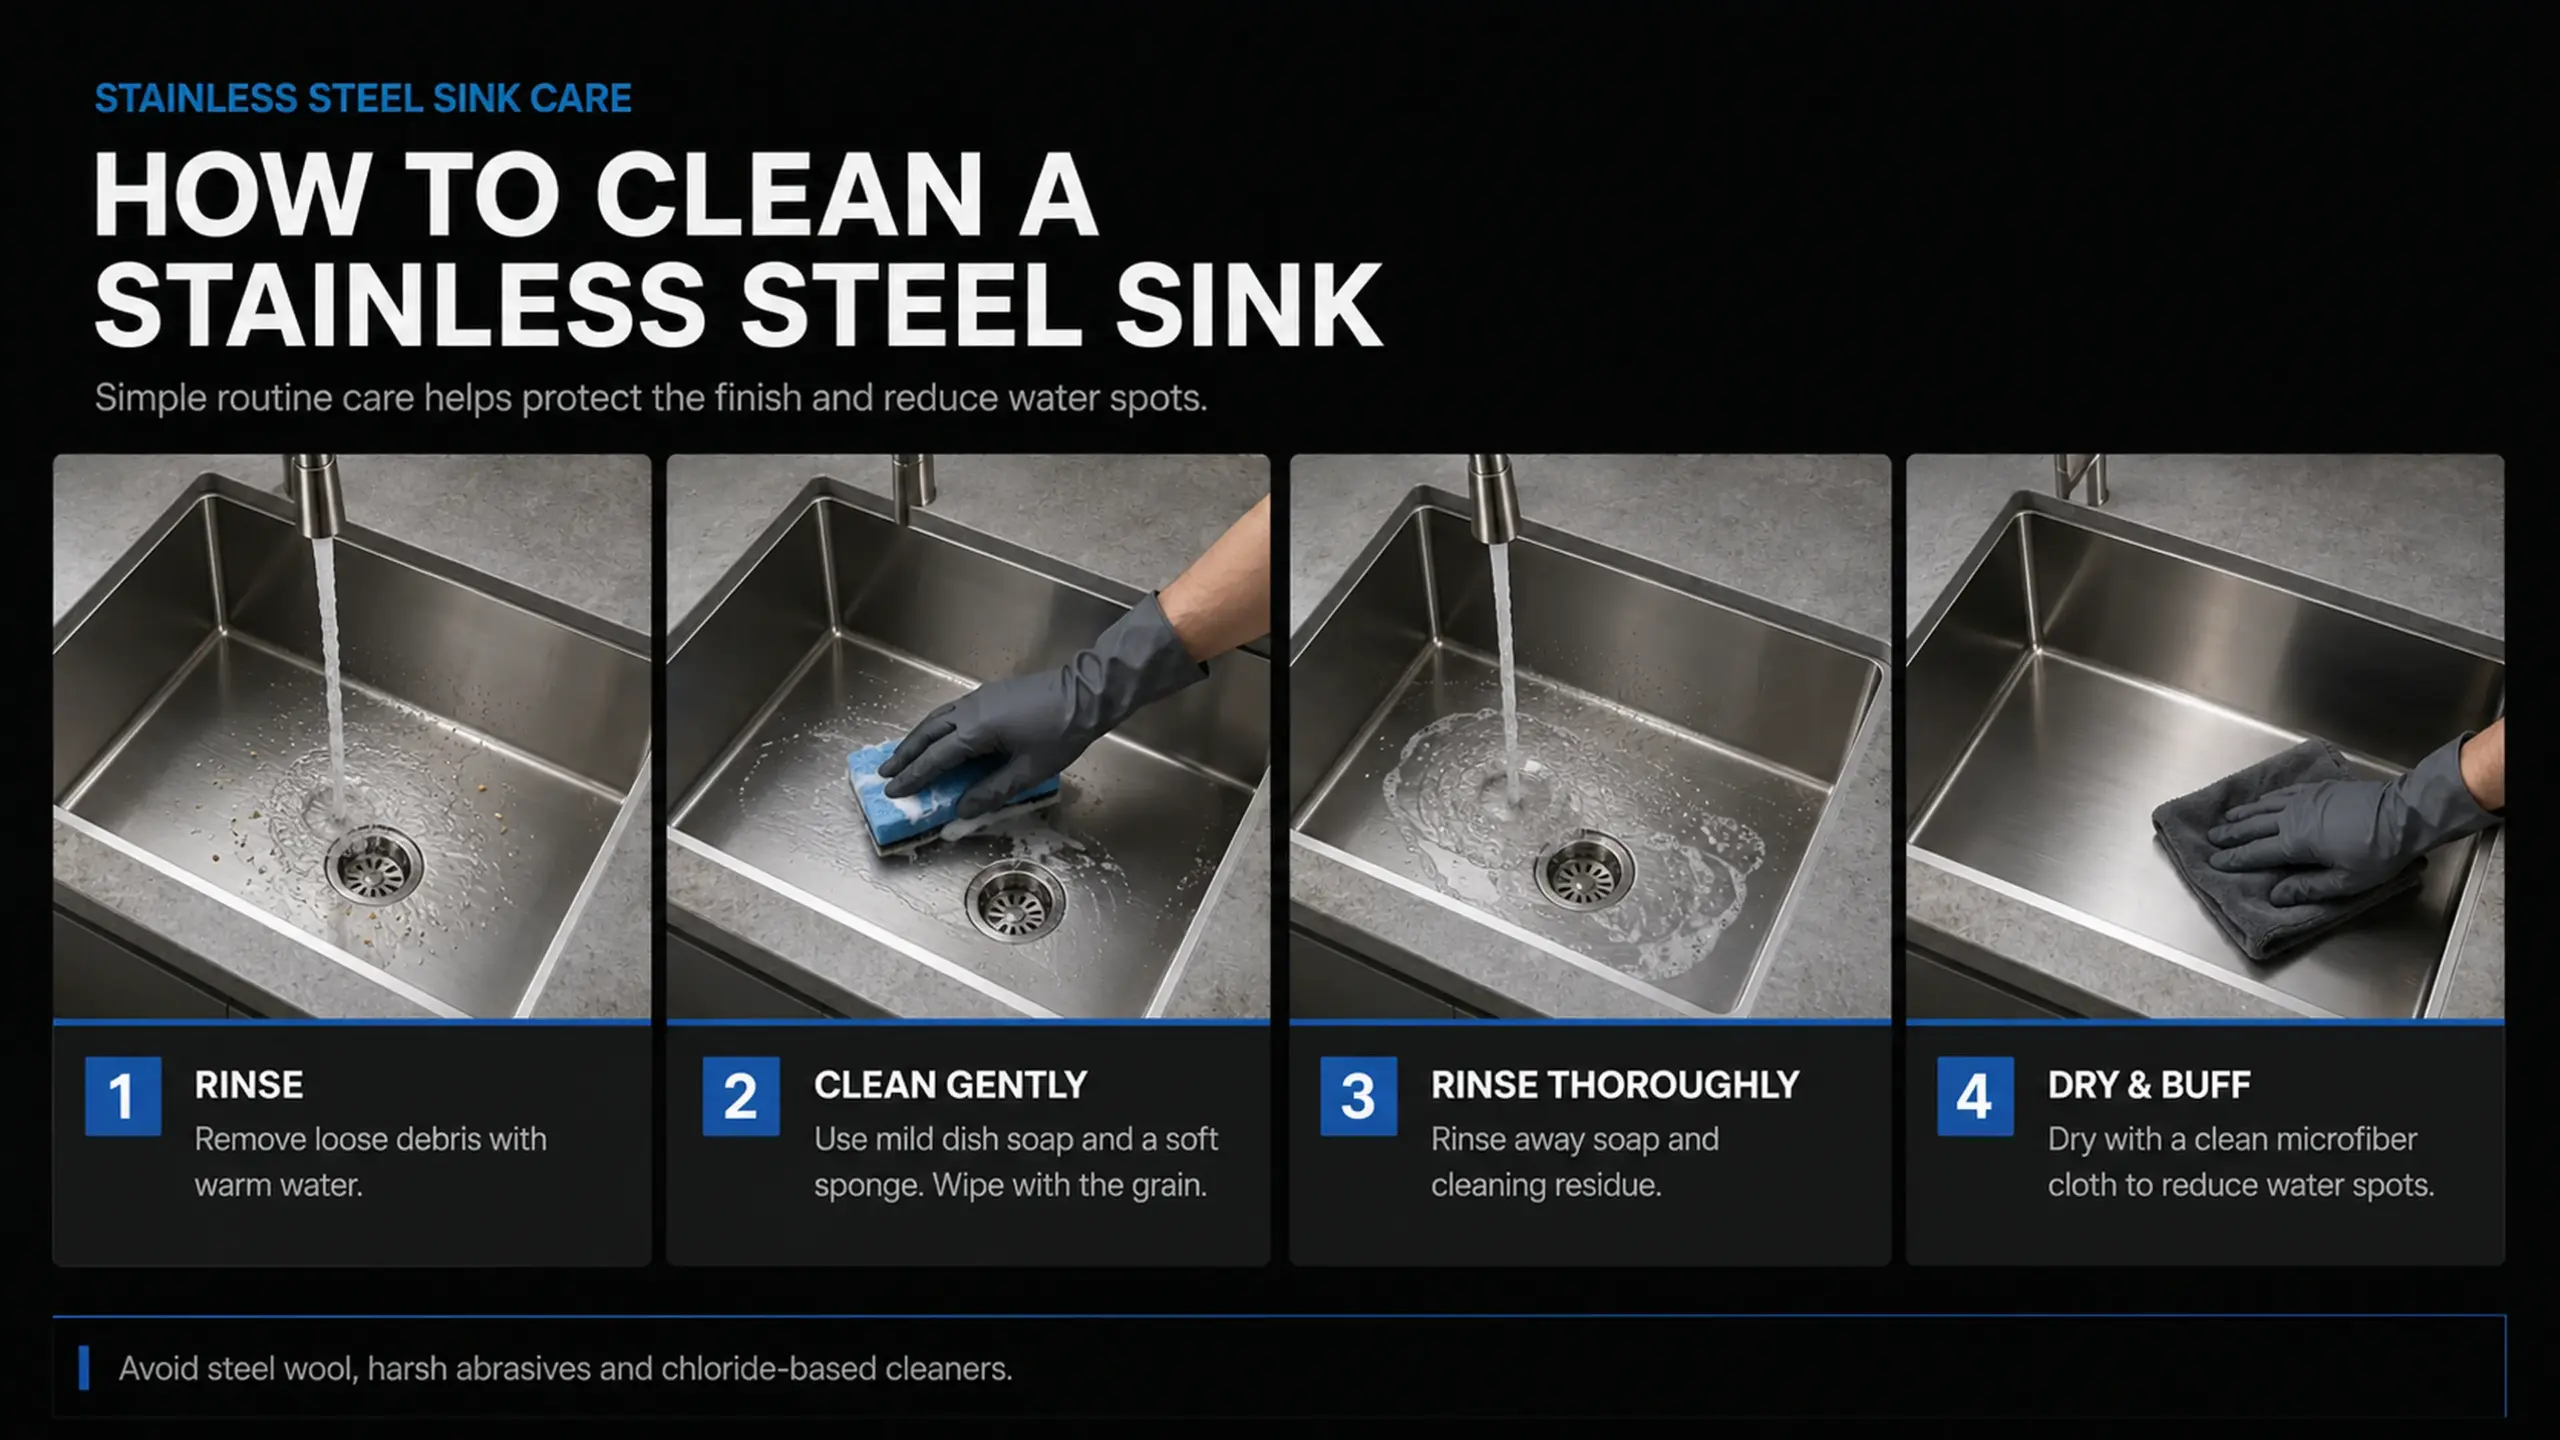
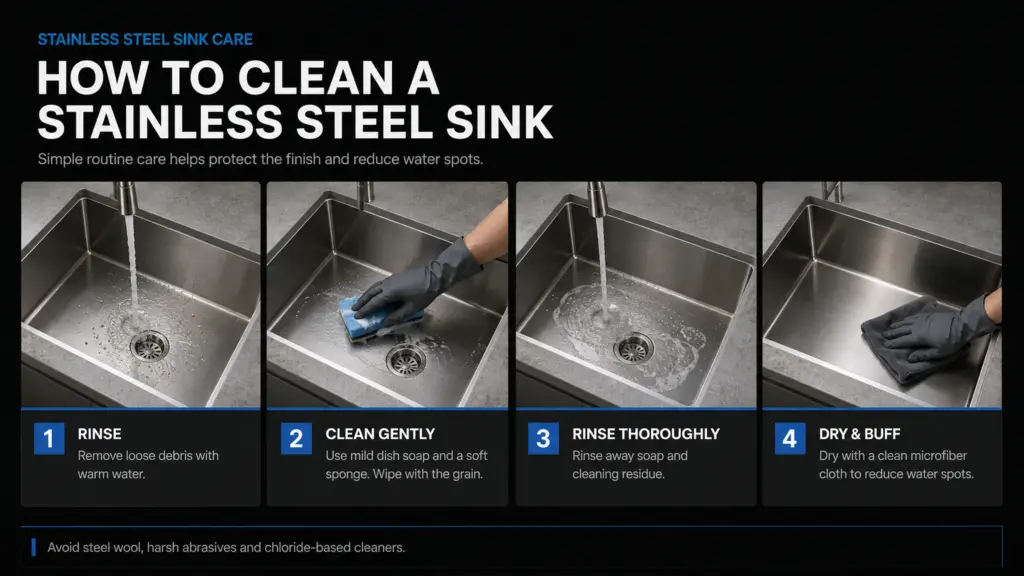
The safest way to clean a brushed stainless steel sink is to remove loose grit, wash with mild dish soap and warm water, wipe gently in the direction of the visible grain, rinse completely and dry with a clean microfiber cloth.
Avoid steel wool, wire brushes, harsh abrasive powders and prolonged chloride exposure. Colored, PVD and coated sinks require their own finish-specific care.
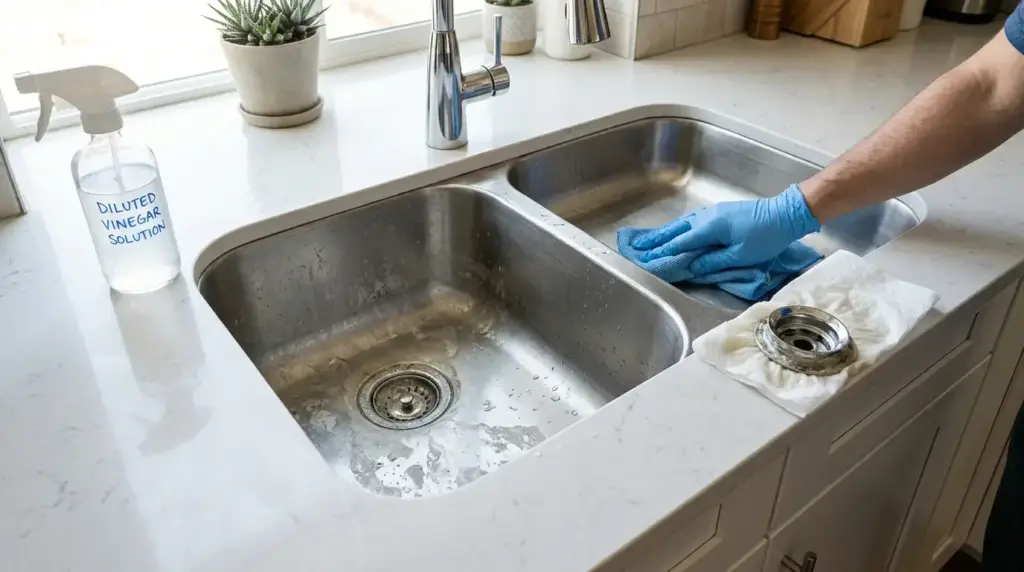
Following the grain can make light cleaning marks less visible. It cannot make an unsuitable pad, trapped sand or aggressive chemical safe.
Quick Answer: What Is Safe and What Is Not?
| Item | Routine Use on Brushed Stainless Steel | Important Limitation |
|---|---|---|
| Warm water | Yes | Dry afterward to reduce mineral spots |
| Mild dish soap | Yes | Rinse completely so residue does not streak |
| Clean microfiber cloth | Yes | It must be free of grit and metal particles |
| Soft non-scratch sponge | Usually | Use light pressure and a dedicated clean sponge |
| Soft nylon brush | Sometimes | Useful in corners; test on delicate finishes |
| Stainless steel cream cleaner | Conditional | Must be non-scratch and approved for the exact finish |
| Diluted vinegar | Conditional | Only for mineral deposits when the care guide permits it |
| Baking soda | Conditional | It is mildly abrasive and not universal |
| Chlorine bleach | Not for routine care | Chlorides can stain or pit stainless steel |
| Steel wool or wire brush | No | Can scratch and transfer rusting iron particles |
| Sandpaper or metal polish | No for routine care | Can permanently change the grain or gloss |
When the finish is unknown, stop at warm water, mild dish soap and a soft cloth.
First Identify the Surface Finish
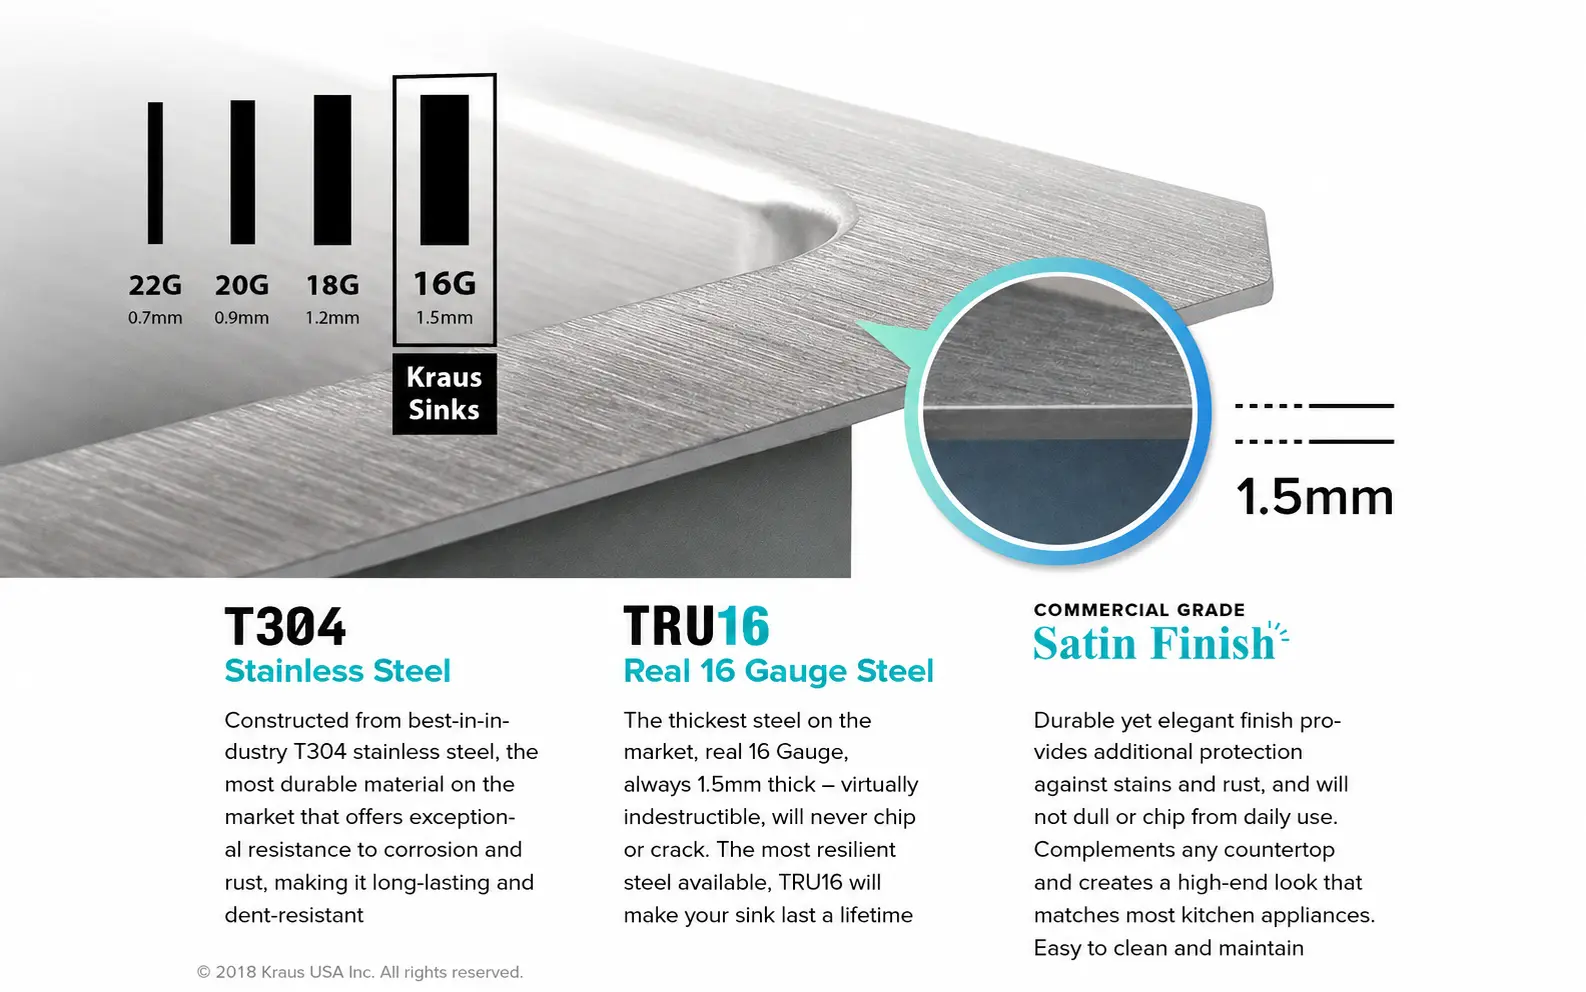
“Stainless steel sink” describes the base material, not the complete surface system.
| Finish | How to Recognize It | Safe Starting Method |
| Brushed or satin | Fine directional lines | Mild soap, soft cloth and strokes with the grain |
| Polished or mirror | Highly reflective, little visible grain | Mild soap and very soft cloth; avoid abrasive powders |
| PVD colored | Black, gunmetal, gold, copper or another metallic tone | Mild soap and soft cloth only unless the guide says otherwise |
| Nano or coated | Colored, low-fingerprint or unusually smooth surface | Follow the exact coating instructions |
| Embossed or textured | Visible pattern or raised texture | Soft cloth or finish-approved soft brush |
A cleaner that is acceptable on uncoated brushed stainless steel may dull, lighten or scratch a colored coating.
Matrix supplies stainless steel kitchen sinks in brushed, satin, polished and selected colored finishes for wholesale, project and OEM programs.
What Does “Grain” Mean on a Stainless Steel Sink?
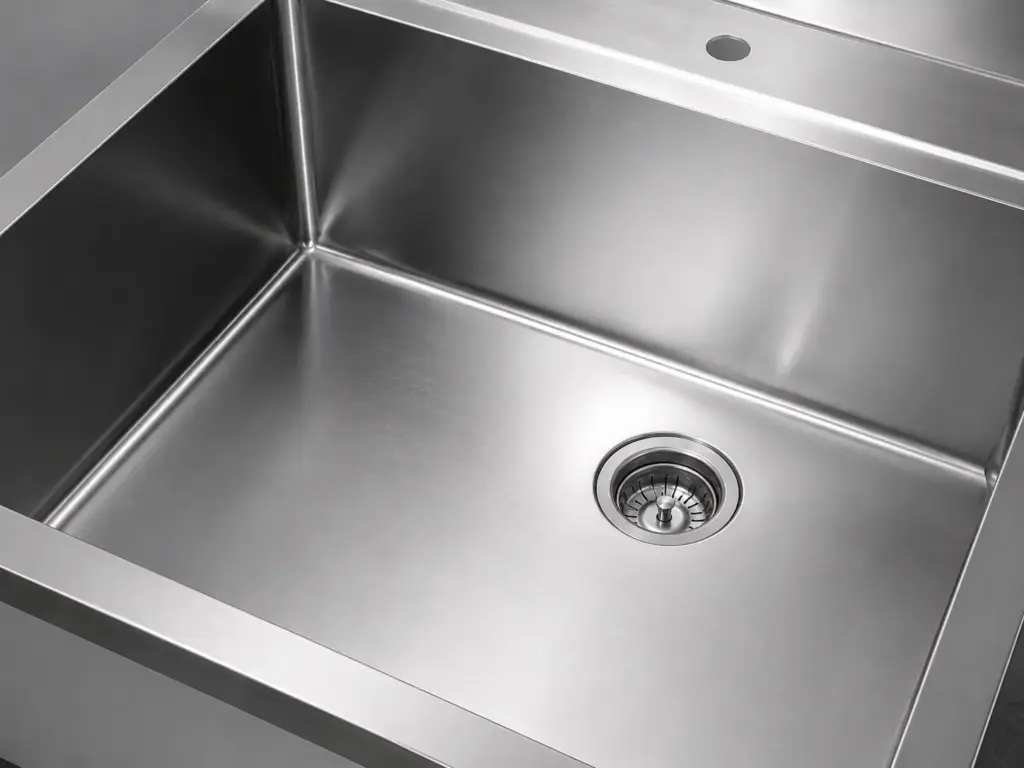
The visible grain is the directional pattern created when the surface is brushed or finished. It is not the microscopic crystalline grain inside the metal.
On a handmade sink, the grain may run in different directions on different panels:
- Front to back across the bowl floor
- Vertically on the walls
- Horizontally along the rim
- In another direction on a drainboard or workstation ledge
On a pressed sink, the lines may curve or change direction with the bowl shape.
Treat every panel as a separate surface. Do not scrub the entire sink in one direction simply because the bottom grain runs that way.
How to Find the Grain Direction
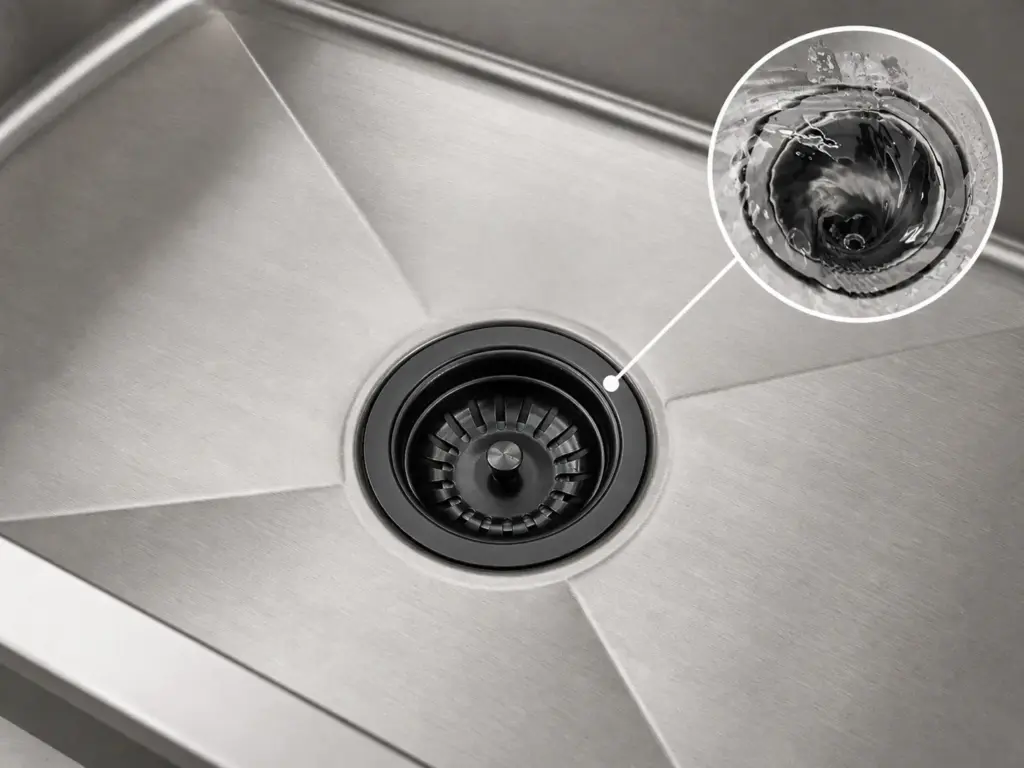
Use Low-Angle Light
Shine a flashlight or phone light across a clean, dry area. Light traveling almost parallel to the surface makes fine lines easier to see.
Inspect More than One Panel
Check the bowl bottom, side walls, rim, ledge and drainboard separately.
Do Not Test with an Abrasive
Never rub an abrasive pad in several directions to discover which one looks correct. Identify the grain visually.
When No Grain Is Visible
The surface may be polished, coated or too curved to show a clear direction. Use a very soft cloth with light pressure and confirm the care instructions before using any abrasive product.
What Actually Causes Cleaning Scratches?
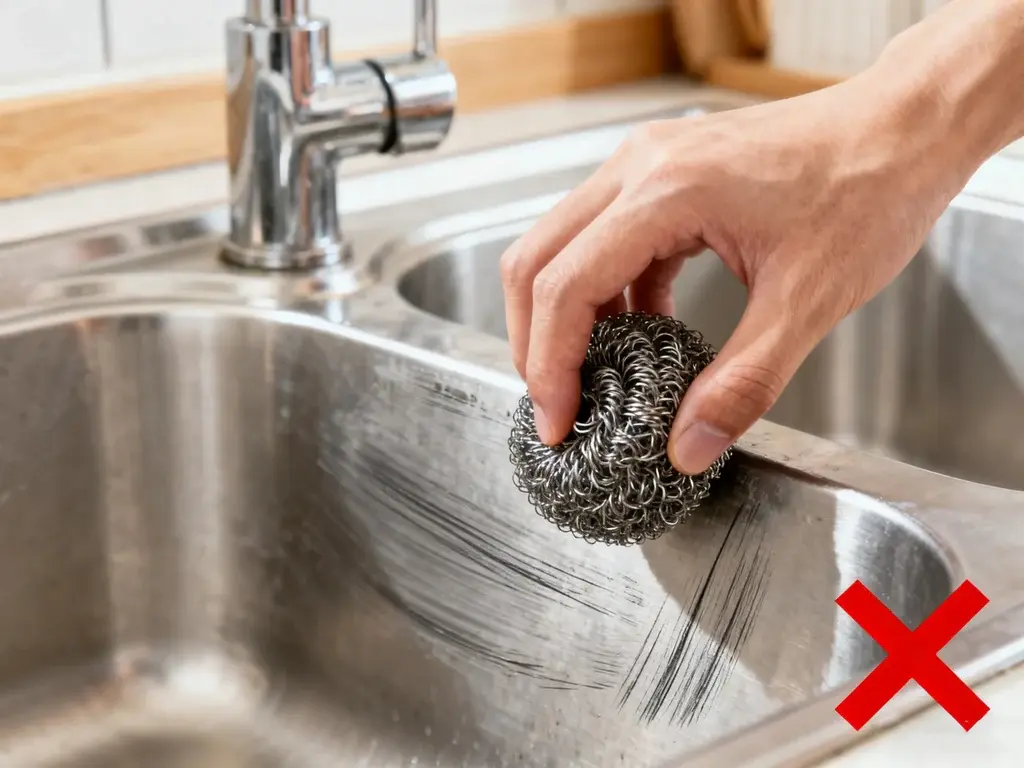
Visible damage depends on more than direction.
The main variables are:
- Particle hardness: Hard grit can cut the finish.
- Particle size: Larger particles usually create deeper marks.
- Tool contamination: A soft cloth becomes abrasive when it traps sand or metal fragments.
- Pressure: More force increases contact and scratch depth.
- Number of passes: Repeated rubbing can change gloss even with a mild product.
- Direction: Cross-grain marks are usually more visible.
- Finish sensitivity: Mirror, PVD and colored surfaces show damage differently.
This leads to an important rule:
A clean soft cloth used with light pressure is safer than a “non-scratch” sponge containing trapped grit.
Why Cleaning with the Grain Helps
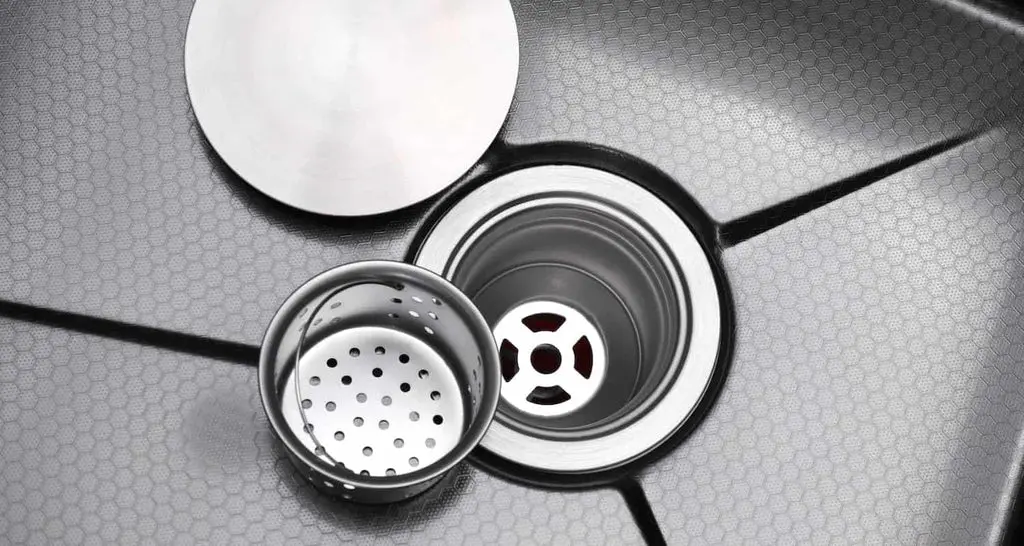
Straight strokes parallel to the brushed lines reduce the visual contrast between cleaning marks and the original finish.
Cross-grain or circular cleaning can create:
- Swirl marks
- Short bright lines
- Uneven reflection
- Dull patches
- A grain pattern that looks broken
Following the grain reduces risk, but it does not repair deep scratches or protect a coating from unsuitable chemicals.
The Safest Seven-Step Cleaning Method
Step 1: Empty the Sink
Remove dishes, cookware, the bottom grid, strainer basket, roll-up rack, rubber mat, sponges and food scraps.
Cleaning around accessories can leave hidden deposits and drag trapped particles across the surface.
Step 2: Rinse Away Loose Grit
Flush out sand, soil, coffee grounds, broken eggshell, metal fragments and other hard debris before touching the surface with a cloth.
Pick up sharp fragments carefully. Do not rub them toward the drain.
Step 3: Identify the Finish and Grain
Confirm whether the surface is brushed, mirror-polished, colored or coated. Inspect the direction on each panel.
Step 4: Wash with Mild Dish Soap
Apply a small amount of mild dish soap to a clean damp cloth or soft non-scratch sponge. Wipe with light, straight strokes following each panel’s grain.
Pay attention to:
- Corners
- Drain perimeter
- Workstation ledges
- Areas beneath grid feet
- Rim and countertop transition
Use time and water to soften residue rather than increasing pressure immediately.
Step 5: Rinse Completely
Cleaner left on the sink can dry into streaks or attract more residue. Rinse the bowl, walls, ledges and outlet until no foam or cleaner remains.
Step 6: Reinspect the Mark
If a mark remains, identify whether it is food, grease, mineral scale, transferred iron, a scratch or chemical damage before selecting the next treatment.
Do not apply several cleaners in succession without rinsing between them.
Step 7: Dry with a Clean Cloth
Use a fresh microfiber cloth and follow the grain. Drying reduces water spots, soap streaks and moisture trapped under grids or mats.
In hard-water areas, drying is often more effective than repeatedly using descaling chemicals.
Diagnose the Mark Before Choosing a Cleaner
| What the Mark Looks Like | Likely Cause | First Response |
| Greasy smear that moves when wiped | Oil or soap film | Mild dish soap and warm water |
| White or chalky ring | Mineral deposit | Mild cleaning, then approved short-contact descaling if needed |
| Orange dots near a metal object | Transferred iron contamination | Remove the source and clean gently |
| Straight line crossing the grain | Scratch | Stop cleaning aggressively; do not treat it as dirt |
| Bright or dull rubbed patch | Abrasion or polishing change | Stop and request finish guidance |
| Black pinpoint cavity | Possible pitting | Stop chemical treatment and request inspection |
| Rainbow or dark patch | Heat, chemical residue or surface reaction | Record recent exposure before treating |
| Mark disappears when wet and returns when dry | Mineral or cleaner residue is likely | Rinse thoroughly and dry |
Incorrect diagnosis creates unnecessary damage. A scratch cannot be washed away, and pitting should not be scrubbed as if it were food residue.
The Cleaning Ladder: Escalate One Level at a Time
| Level | Method | Appropriate For |
| 1 | Clean water rinse and dry | Loose residue and daily care |
| 2 | Mild dish soap and soft cloth | Grease, fingerprints and ordinary food soil |
| 3 | Short soak with warm soapy water | Dried-on food |
| 4 | Finish-approved non-scratch cleaner | Persistent residue on compatible finishes |
| 5 | Finish-approved mineral or rust treatment | Identified scale or external iron contamination |
| Stop | Supplier or professional review | Pitting, deep scratches, coating loss or unexplained color change |
Rinse completely before moving from one level to another. Never create an unplanned chemical mixture on the sink.
Cleaner Compatibility by Finish
“Yes” in this table means a reasonable starting point, not permission to ignore the product label.
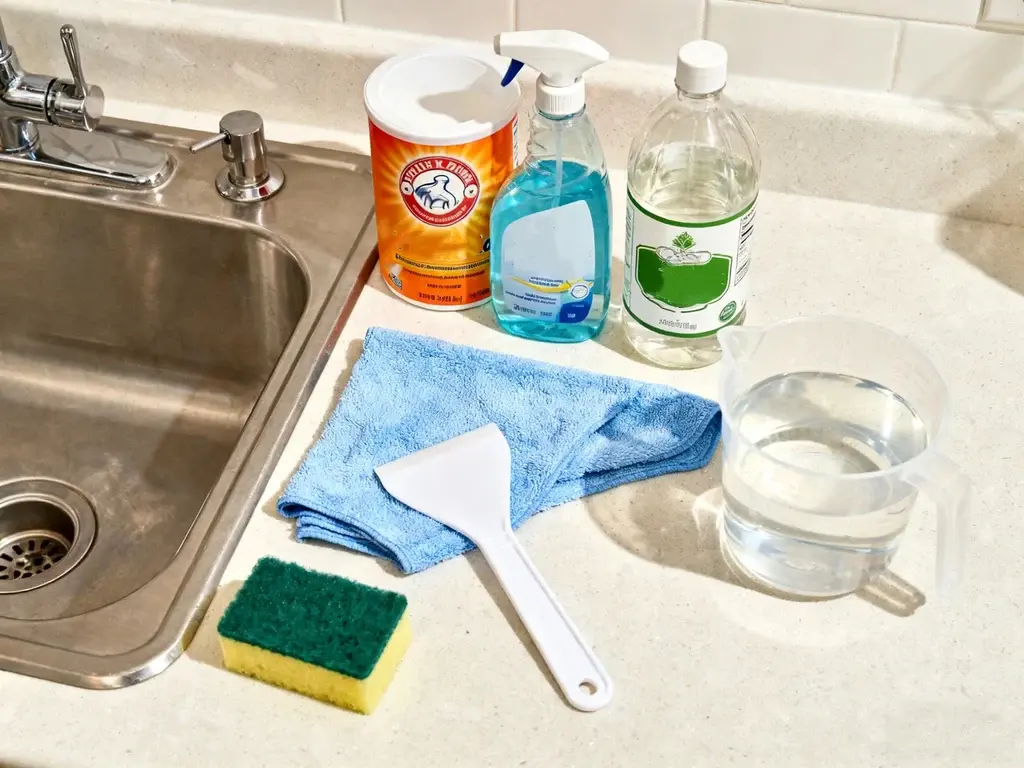
| Cleaner or Tool | Brushed Bare Steel | Mirror/Polished | PVD/Colored/Coated |
| Mild dish soap | Yes | Yes | Usually yes |
| Clean microfiber cloth | Yes | Yes | Yes |
| Soft nylon brush | Conditional | Use cautiously | Only if approved |
| Stainless steel cream | Conditional | High risk of gloss change | Avoid unless approved |
| Diluted vinegar | Conditional | Conditional | Avoid unless approved |
| Baking soda slurry | Conditional | Avoid or test carefully | Usually avoid |
| Oxalic-acid stainless treatment | Only if approved | Only if approved | Avoid unless specifically approved |
| Metal polish | Restoration only | Can alter gloss | Avoid |
| Steel wool | No | No | No |
| Chlorine bleach | Avoid for routine care | Avoid | Avoid unless exact instructions permit |
Always use the care guide for the exact SKU as the final authority.
How to Remove Grease and Fingerprints
Use warm water, mild dish soap and a clean microfiber cloth.
- Wet the area.
- Apply a small amount of soap.
- Wipe with the grain.
- Rinse completely.
- Dry with a fresh cloth.
Avoid applying oil-based polish before removing the grease. Oil may create temporary shine while leaving a film that attracts dust and fingerprints.
How to Remove Dried Food
Soften the deposit before rubbing.
- Cover the residue with warm soapy water for a short period.
- Lift it with a soft cloth or finish-safe nylon brush.
- Repeat instead of using a metal scraper.
- Rinse and dry.
Do not scrape with a knife, razor, screwdriver or cookware edge.
How to Remove Water Spots and Limescale
Water spots are normally minerals left behind when water evaporates.
Start with the Mild Method
Wash with dish soap, rinse and dry. Light marks may be soap residue rather than scale.
If Scale Remains
Use a mineral-deposit treatment only when approved for the finish. Some uncoated brushed sinks may permit a diluted vinegar solution with controlled contact time.
Follow these rules:
- Test a hidden area.
- Do not soak overnight.
- Do not allow the cleaner to dry.
- Use light pressure with the grain.
- Rinse thoroughly.
- Dry immediately.
- Keep the product away from incompatible faucets, drains and coatings.
Do not assume a bathroom descaler is safe. It may contain aggressive acid or chloride compounds.
Vinegar and Baking Soda: More Fizz Does Not Mean More Cleaning
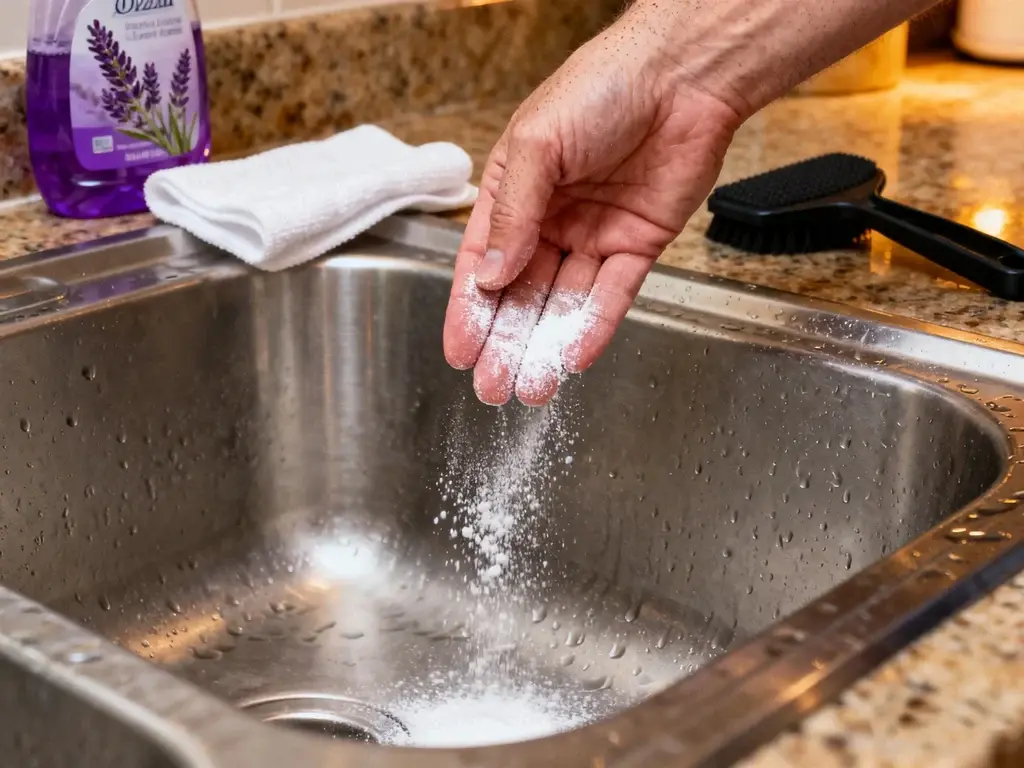
Vinegar is acidic. Baking soda is alkaline. When mixed, they react and release carbon dioxide bubbles while neutralizing each other to a degree.
The fizz looks active, but it does not automatically produce a stronger stainless steel cleaner.
They perform different jobs:
- Mild acid can help dissolve alkaline mineral scale.
- Baking soda can provide mild mechanical abrasion.
Combining them may reduce the useful acidity needed for mineral removal while still leaving abrasive particles that can affect the finish.
For a sink, diagnose the problem and use one approved method at a time. Do not assume the bubbling mixture is safer or more effective.
Can You Use Baking Soda?
Baking soda is a fine abrasive—not a universally non-scratch cleaner.
It may be acceptable as a wet slurry on some uncoated brushed finishes when the care guide allows it. It can create visible rubbing, gloss change or scratches on mirror, colored, PVD and coated finishes.
If approved:
- Use it wet, never as a dry powder scrub.
- Apply minimal pressure.
- Follow the grain.
- Test a hidden area.
- Rinse completely.
- Stop if gloss or color changes.
“Natural” does not mean compatible with every finish.
Can You Use Vinegar?
Diluted vinegar can help remove mineral deposits from some uncoated stainless steel sinks. It is not a universal daily cleaner.
Only use it when:
- The sink care guide permits mild acid cleaning.
- The solution and contact time are controlled.
- The surface is thoroughly rinsed afterward.
- The sink is dried immediately.
Do not leave vinegar-soaked towels on the surface for hours. Avoid automatic use on PVD, colored or coated finishes.
Never mix vinegar with chlorine bleach or another disinfectant.
How to Treat Rust-Like Marks
Orange or brown spots do not automatically prove that the sink body has failed.
Possible external sources include:
- Carbon-steel wool
- Wire brushes
- Construction dust
- Metal cans left wet
- Cast-iron cookware
- Rusting tools, screws or fasteners
- Contaminated cleaning pads
- Metal particles introduced during installation
- Chloride damage to the passive surface
Safe First Response
- Remove the suspected source.
- Photograph the area before aggressive treatment.
- Wash with mild soap and a soft cloth.
- Rinse and dry.
- If the mark remains, use only a finish-approved stainless steel stain treatment.
- Stop if the area contains pits or coating damage.
Never use carbon-steel wool to remove a rust-colored spot. It can deposit more iron particles and create additional staining.
Matrix discusses material, contamination, care and surface risks in its sink sourcing risk guide.
How to Recognize Pitting Instead of Surface Staining
Surface contamination may look orange or brown but still feel smooth. Pitting involves small cavities or pinholes in the metal.
Possible signs of pitting include:
- Dark pinpoints that do not wipe away
- A rough cavity that catches a fingernail
- Repeated staining from the same tiny hole
- Damage following prolonged chloride exposure
Do not keep polishing a suspected pit. Record the cleaner history, water conditions and affected area, then request a technical review.
Can You Use Bleach on a Stainless Steel Sink?
Chlorine- and chloride-containing products can stain or pit stainless steel, especially when concentrated, left too long or allowed to dry.
For routine sink care, use soap and water rather than bleach.
If disinfection is genuinely required, the disinfectant must be:
- Labeled for the intended disinfection task
- Compatible with the exact sink finish
- Used at the labeled dilution
- Left only for the labeled contact time
- Rinsed when the label or sink guide requires it
- Never mixed with another cleaner
The sink care guide and disinfectant label must both allow the process. If they conflict, do not improvise.
Cleaning, Sanitizing and Disinfecting Are Different
| Task | Purpose | Typical Approach |
| Cleaning | Removes food, grease, dirt and some germs | Soap, water and physical wiping |
| Sanitizing | Reduces bacteria to a defined level | Labeled sanitizer and contact time |
| Disinfecting | Kills specified microorganisms | Registered disinfectant used exactly as labeled |
In most routine household situations, regular cleaning with soap and water is the first step. Disinfecting a visibly dirty sink without cleaning it first can reduce effectiveness and leave residue beneath the soil.
Never mix disinfectants with vinegar, ammonia, drain cleaner or other household products. Dangerous fumes can result.
What Never to Use for Routine Sink Cleaning
- Carbon-steel wool
- Metal wire brushes
- Pads previously used on carbon steel or cast iron
- Sandpaper
- Metal scrapers or knives
- Dry scouring powder
- Oven cleaner
- Toilet-bowl cleaner
- Hydrochloric or muriatic acid
- Mortar or cement remover
- Silver dip
- Undiluted chlorine bleach
- Unidentified industrial chemicals
Drain cleaner is designed for the waste system, not for polishing the bowl. Prevent splashes and follow its label and the plumbing instructions.
Why a Soft Cloth Can Still Scratch
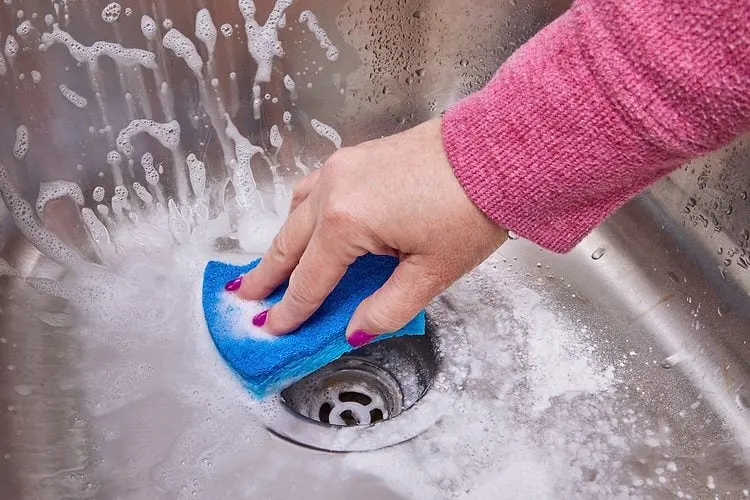
A cloth is only as safe as what is trapped inside it.
Common contaminants include:
- Sand from produce
- Ground coffee particles
- Broken ceramic fragments
- Metal filings
- Dried abrasive cleaner
- Iron particles from another task
Use a dedicated sink cloth, rinse it frequently and replace it when it feels gritty. Do not use the same pad for cookware, construction cleanup and sink care.
Why Steel Wool Can Create Rust-Like Spots
Carbon-steel wool can shed microscopic iron fragments. Those particles may lodge in the brushed finish and rust in the damp sink environment.
This can make an otherwise sound stainless steel sink appear to be rusting.
Following the grain does not make carbon-steel wool safe. The problem is both scratching and contamination.
Do Scratches Mean Poor Sink Quality?
Light scratches are normal on a working stainless steel sink. Stainless steel is durable, but it is not scratch-proof.
Scratch visibility depends on:
- Original grain direction
- Lighting angle
- Scratch direction
- Finish reflectivity
- Sink age
- Cookware contact
- Bottom-grid condition
- Whether the surface is bare or colored
Cross-grain scratches usually look more obvious because they interrupt the existing pattern.
Cleaning with the grain can reduce new visible cleaning marks. It does not remove a deep scratch.
Do not sand, rebrush or polish a localized area without supplier approval. A repair can leave a bright patch or grain mismatch that is more noticeable than the original damage.
How to Clean PVD and Colored Stainless Steel
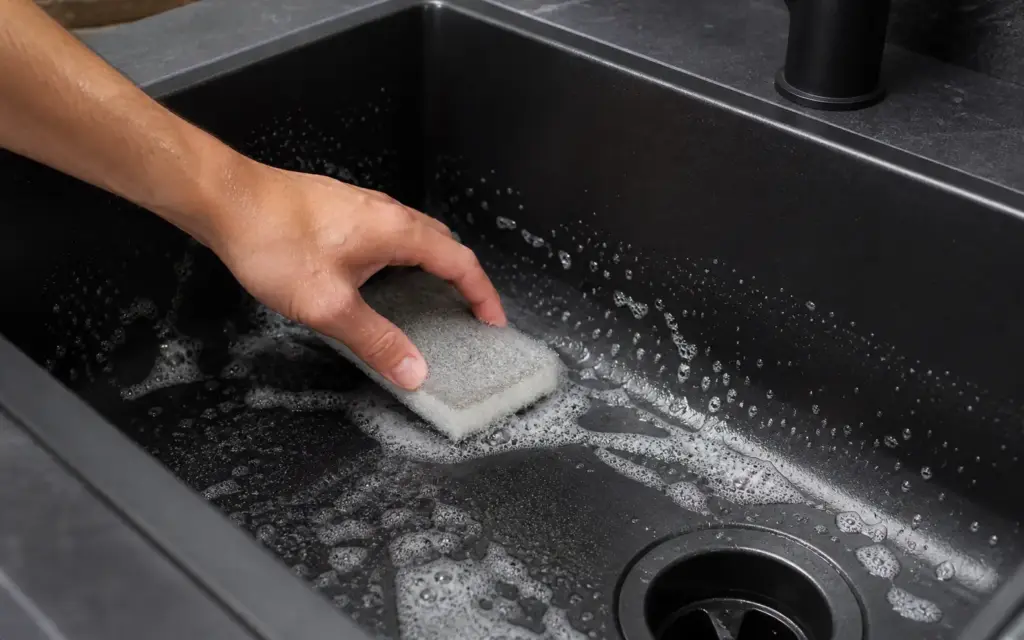
Colored stainless steel should be treated as a finish system, not as bare metal.
Use
- Warm water
- Mild dish soap
- Clean soft microfiber cloth
- Light pressure
- Thorough rinsing
- Immediate drying when water spots are visible
Avoid Unless Specifically Approved
- Baking soda
- Abrasive cream
- Scouring pads
- Metal polish
- Rust remover
- Acid descaler
- Chlorine cleaner
- Scratch-removal compounds
- DIY regraining
A treatment intended to restore bare stainless steel may remove color, change gloss or expose a lighter patch.
See Matrix PVD colored stainless steel sinks for B2B finish, packaging and care considerations.
How to Clean a Workstation Sink
Workstation sinks have ledges and multiple accessories that create additional contact areas.
Remove:
- Cutting board
- Colander
- Roll-up rack
- Bottom grid
- Drain cover
- Wash bin or prep bowl
Clean the sink body according to its grain and finish. Clean every accessory according to its own material.
Do not assume that wood, silicone, coated steel and plastic accessories share the same dishwasher or chemical compatibility.
Before reinstalling the accessories:
- Clean their contact edges.
- Check grid feet for trapped particles.
- Dry wood components.
- Replace missing protective feet.
Dirty accessory contact points can scratch a clean sink.
Daily, Weekly and Occasional Care
After Regular Use
- Remove food and grit.
- Rinse away soap.
- Do not leave wet metal objects in the bowl.
- Dry visible water spots when practical.
Weekly
- Remove the bottom grid.
- Clean beneath grid feet.
- Wash the drain perimeter.
- Clean workstation ledges.
- Inspect for early mineral buildup.
- Dry accessories before replacing them.
When a Special Mark Appears
- Photograph it before aggressive cleaning.
- Identify whether it is residue, scale, contamination, scratching or pitting.
- Record any recent cleaner or chemical exposure.
- Use the least aggressive approved treatment.
- Stop when the finish changes.
Frequent mild cleaning is safer than occasional aggressive restoration.
Common Cleaning Mistakes
Treating Fizz as Cleaning Power
Vinegar and baking soda bubbles look active, but the acid and base react with each other. Use a task-specific approved method instead.
Scrubbing in Circles
Circular movement can produce swirl marks that cross directional brushing.
Applying More Pressure
More force increases abrasion. Soaking dried residue briefly is usually safer.
Cleaning over Grit
Loose hard particles turn a soft cloth into an abrasive tool.
Allowing Cleaner to Dry
Dried cleaner can leave streaks, deposits or chemical marks.
Using Appliance Polish in the Bowl
Some polishes leave oily residue. A working sink normally benefits more from thorough rinsing and drying than from a cosmetic oil film.
Treating Every Stainless Finish the Same
Bare brushed steel, mirror polish, PVD and coated surfaces require different limits.
Mixing Chemicals
Never mix bleach, acids, ammonia, disinfectants or drain products. Rinse the surface completely before changing products.
B2B Buyers: Care Instructions Are Part of Sink Quality
The product experience continues after installation. A generic stainless steel care card may be wrong for a colored or coated SKU.
Finish-specific instructions can reduce complaints about:
- Cross-grain scratches
- Rust-like contamination
- Water spots
- Chloride staining
- Coating damage
- Grid-foot marks
- Uneven gloss
- Chemical discoloration
The care guide should be approved together with the physical finish sample.
B2B Cleaner-Compatibility Test
Before publishing an approved-cleaner list:
- Use a production-equivalent finish sample.
- Record the cleaner name and active ingredient.
- Apply the stated dilution.
- Use the intended cloth or sponge.
- Follow the proposed grain direction and pressure.
- Use the proposed contact time.
- Rinse and dry as instructed.
- Inspect under warm, cool and directional light.
- Check color, gloss, grain and coating adhesion.
- Retain the sample and test record.
A cleaner that removes a mark but changes gloss has not passed a finish-compatibility test.
B2B Care-Guide Checklist
| Care-Guide Field | What to Specify |
| Finish name | Brushed, satin, mirror, PVD, nano or other coating |
| Grain map | Direction on bowl, walls, rim and drainboard |
| Daily method | Soap, water, cloth and drying requirements |
| Approved tools | Cloth, sponge or brush type |
| Prohibited tools | Steel wool, wire brush, sandpaper and harsh pads |
| Water-spot method | Cleaner, dilution, contact time and rinsing |
| Rust-like marks | First response and supplier escalation |
| Disinfection | Whether a compatible labeled process exists |
| Accessories | Separate guidance for grids, racks, boards and colanders |
| Scratch statement | Realistic normal-wear expectations |
| Customer evidence | Required photographs, cleaner history and order details |
Copyable Stainless Steel Sink Care Card
Daily Cleaning
Remove loose food and grit. Wash the sink with warm water, mild dish soap and a clean soft cloth or non-scratch sponge. On brushed surfaces, wipe in the direction of the visible grain. Rinse completely and dry with a clean microfiber cloth.
Protect the Finish
Do not use carbon-steel wool, wire brushes, metal scrapers, sandpaper, aggressive scouring pads or dry abrasive powders. A soft cloth can scratch if it contains sand, metal particles or dried cleaner.
Prevent Water Spots
Rinse away soap and dry the sink when practical, especially in hard-water areas. Use only a finish-approved mineral-deposit treatment with controlled contact time.
Prevent Rust-Like Marks
Do not leave metal cans, cast-iron cookware, steel tools, wet fasteners or contaminated cleaning pads in the bowl. Remove construction dust and metal particles promptly.
Chemical Warning
Avoid chloride cleaners, undiluted bleach, hydrochloric acid, oven cleaner, toilet cleaner, mortar remover and unidentified chemicals. Never mix cleaning or disinfecting products.
Colored and Coated Finishes
Use mild dish soap, warm water and a soft cloth unless the finish-specific guide approves another method. Do not polish, sand or use abrasive scratch-removal products.
When to Contact the Supplier
Stop cleaning and request guidance when you see pitting, coating loss, unexplained color change, a deep scratch or a mark that returns after approved cleaning. Photograph the whole sink and affected area and record every cleaner already used.
Claims to Avoid
Avoid unsupported statements such as:
- “Scratch-proof stainless steel”
- “Any natural cleaner is safe”
- “Baking soda cannot scratch”
- “Vinegar is safe on every finish”
- “Bleach cannot damage stainless steel”
- “All orange marks prove poor steel”
- “Cleaning with the grain removes scratches”
- “PVD can be polished like bare steel”
- “Vinegar and baking soda create a stronger cleaner”
Accurate limitations build more trust than absolute care claims.
Frequently Asked Questions
What is the safest cleaner for a stainless steel sink?
For routine care, use mild dish soap and warm water with a clean soft cloth. Rinse thoroughly and dry.
How do I find the grain direction?
Shine light across a clean, dry surface at a low angle and look for parallel brushing lines. Check the bottom, walls and rim separately.
What happens if I clean against the grain?
Cross-grain cleaning can create lines, swirls or uneven reflection, especially when an abrasive product or contaminated pad is used.
Can a microfiber cloth scratch stainless steel?
The clean fiber is usually gentle, but trapped sand, metal particles or dried abrasive cleaner can scratch the sink.
Can I use baking soda?
Only when the exact finish guide permits it. Baking soda is mildly abrasive and may change mirror, colored, PVD or coated surfaces.
Can I use vinegar?
Diluted vinegar may help remove mineral scale from some uncoated finishes. Use it only when approved, limit contact time, rinse completely and never mix it with bleach.
Is vinegar and baking soda better together?
Not necessarily. They react with each other and release carbon dioxide. The fizz does not automatically improve cleaning and may reduce the acidity needed for descaling.
Can bleach damage stainless steel?
Yes. Chlorine and chloride exposure can cause staining or pitting, especially when concentrated, left too long or allowed to dry.
Why are there orange spots on my sink?
They may come from transferred iron, wet metal objects, construction debris, contaminated pads or chemical exposure. Orange spots do not automatically prove poor base material.
How can I tell a rust stain from pitting?
A surface stain may remain smooth. Pitting creates small cavities or pinholes. Stop aggressive cleaning when the area feels recessed or rough.
Can steel wool be used if I follow the grain?
No. Carbon-steel wool can scratch the finish and deposit iron particles that later rust.
How do I clean a black stainless steel sink?
Use warm water, mild dish soap and a soft cloth unless the finish-specific guide allows more. Avoid abrasives, metal polish and DIY refinishing.
Can scratches be polished out?
Do not polish or sand without supplier approval. Local refinishing can create a bright patch, grain mismatch or coating loss.
Should I disinfect my sink every day?
Routine cleaning with soap and water is often sufficient in normal household use. When disinfection is needed, choose a product compatible with the sink and follow its label exactly.
Can I use the same cleaner on the sink and faucet?
Not automatically. The faucet may have plating, lacquer or PVD with different chemical limits. Check both care guides.
Final Answer
To clean a stainless steel sink without damaging the grain:
- Identify whether the finish is brushed, polished, PVD or coated.
- Remove loose grit before touching the surface with a cloth.
- Use mild dish soap, warm water and a clean soft tool.
- Follow the grain direction on each individual panel.
- Use light pressure and avoid circular scrubbing.
- Rinse away every cleaner before changing methods.
- Dry with a clean microfiber cloth.
- Diagnose special marks before using acids, abrasives or rust treatments.
- Stop when you see pitting, coating loss or gloss change.
The most important principle is:
Following the grain reduces visible cleaning marks, but only the correct combination of cleaner, tool, pressure, contact time and finish compatibility prevents damage.
For normal care, frequent mild cleaning is safer than occasional aggressive restoration.
Develop Better Sink Care Guidance with Matrix
Matrix supports stainless steel sink programs for brands, importers, wholesalers, showrooms and project buyers. We can help review:
- Stainless steel grade and thickness
- Brushed, satin, mirror and colored finishes
- Grain direction and surface expectations
- Workstation accessories and bottom grids
- Cleaner-compatibility samples
- Care cards and packaging inserts
- Finish-protection packaging
- Complaint evidence and repeat-order control
To review a sink program, prepare the sink type, material, finish, intended market, accessory set, packaging method and proposed care instructions.
Contact the Matrix team to discuss stainless steel sink samples, finish expectations or OEM/private-label support.